My mother used to make our clothes when we were little. I would help her thread the sewing machine needle. That was the beginning of my love for sewing. I have many memories of my mother and the projects that we created. Here's to you creating many sewing projects and some beautiful memories of your own.
Scented sachets; using fabric scraps and some matching ribbon, you can make these in minutes. It’s simple, and would make a really nice gift for Mom, or any woman in your life (grandmother, sister, aunt, BFF, teacher, etc.). Birthday, Christmas, Valentine’s Day, Mother’s Day; no matter what the occasion, these sachets are definitely something that she would love, and they are quick and easy to make.
I love sachets! They are pretty and smell so good. And they are easy to make. I use either potpourri, essential oils or the actual flowers, such as lavender – probably my favorite scent. Continue reading »
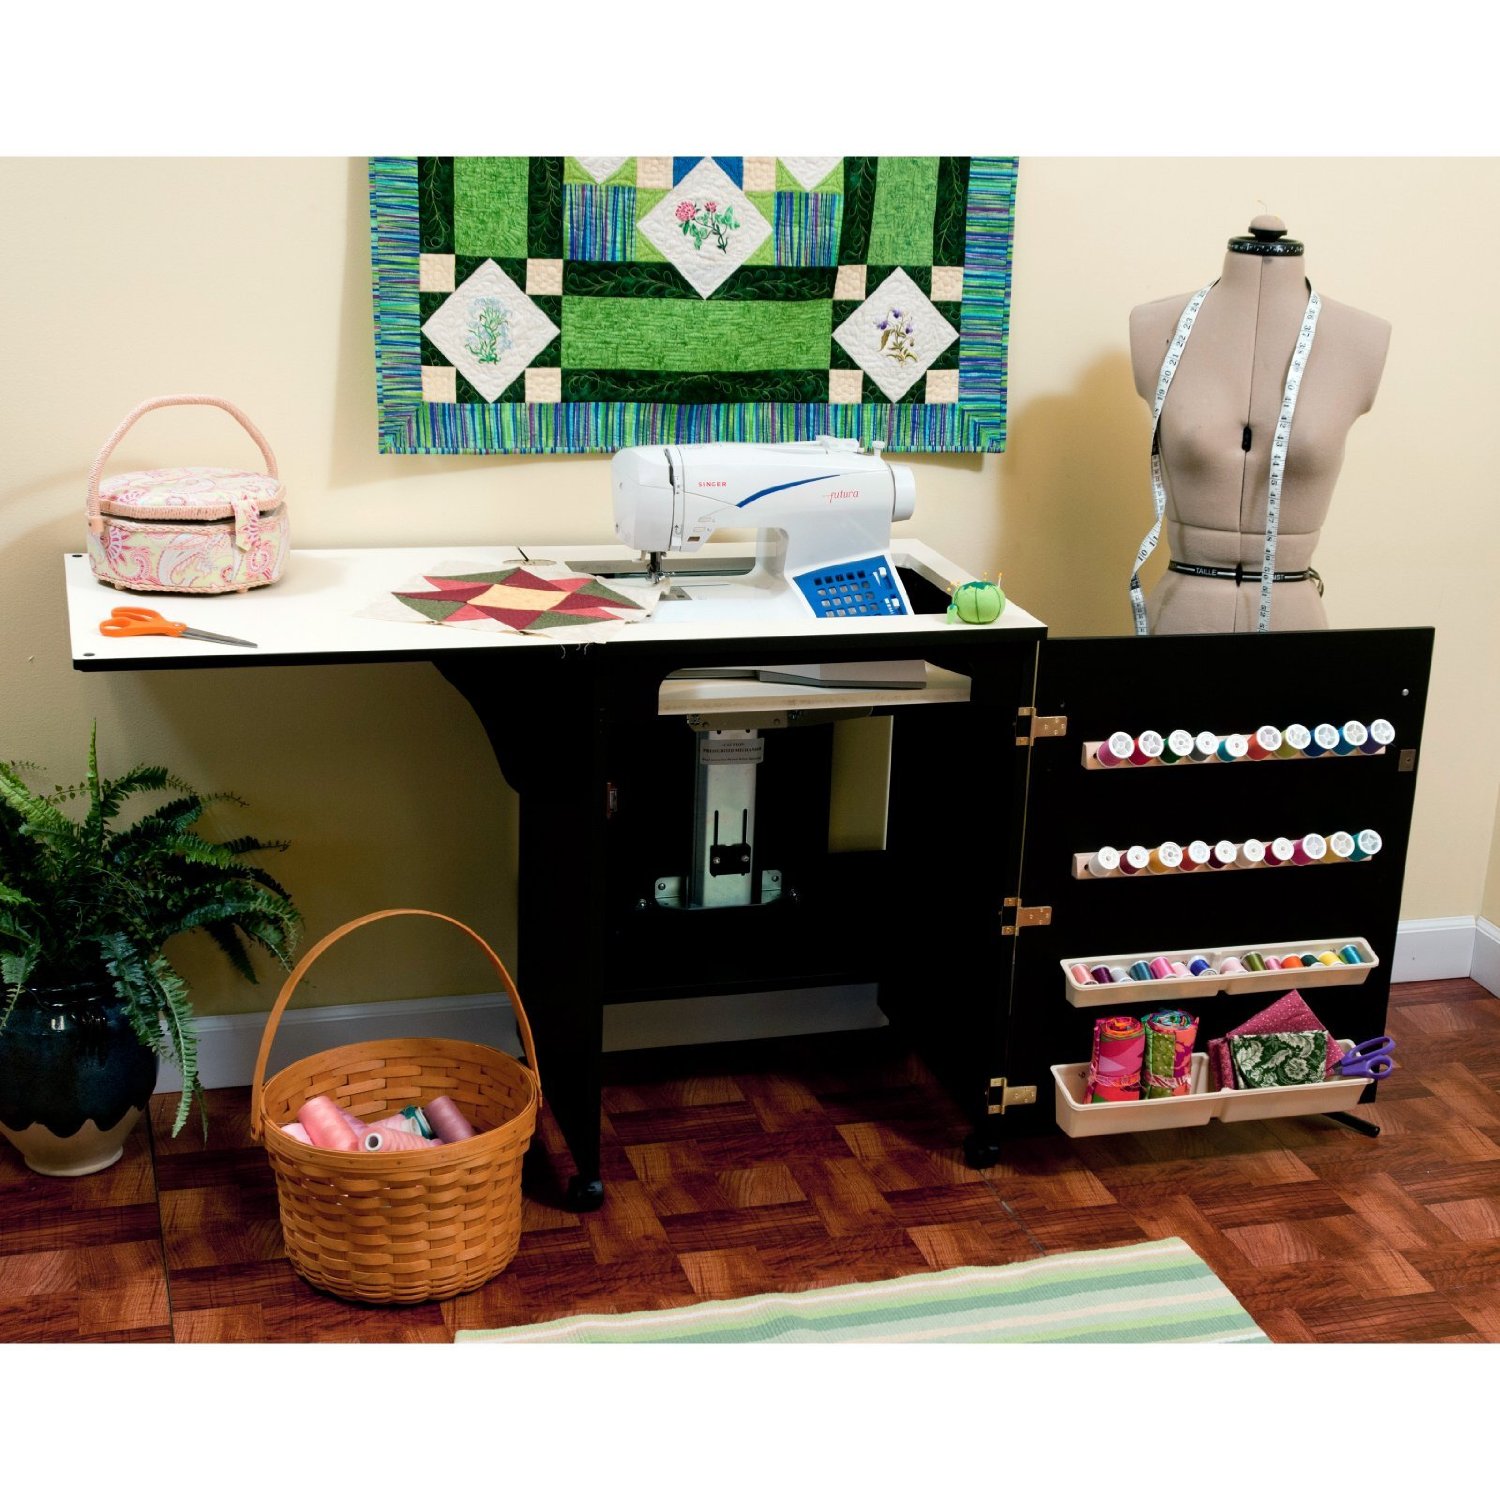
Sauder Storage collection sewing craft cart is constructed of top quality engineered wood with a durable American Cherry laminate finish. Drop leaf provides extra work space for sewing or crafts. Storage behind roll-open door includes two storage bins and hidden shelf for sewing machine. Two adjustable shelves behind door. Laminate top surface is heat, stain, and scratch resistant. Easy roll casters. Closed dimensions are 40″W x 19-1/2″D x 28″H. Ships ready to assemble.
I have had one of these for at least 25 years. It’s a great space saver if you don’t have a dedicated sewing room to hold your sewing machine and notions. Just open it up when you need it. It is inexpensive and easy to assemble.
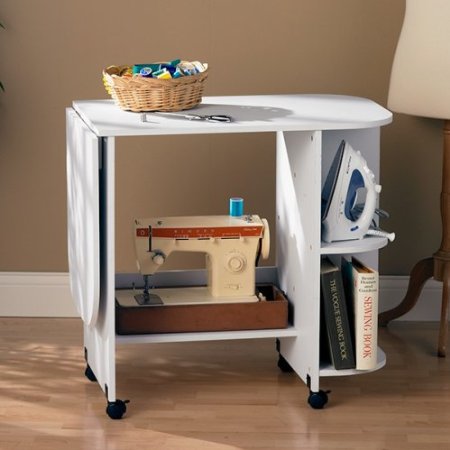
If you love to sew but you don’t have the room, this sewing table was meant for you. Sew away, and then roll away with this easy to store, folding white sewing table. You have a large work surface that folds down and plenty of shelf space. Sewing machine not included. This item was eligible for free shipping at the time it was added, 3/13/13
Features:
Compact sewing table with versatile storage and lockable casters
White Laminate Finish
Fold down leaf for space saving
Design includes lower storage shelf, and 2 side shelves
Rotating lockable casters for mobility
Useful in action and easy to stow away between sewing sessions
Durable construction with an easy-to-clean surface
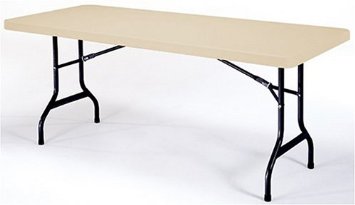
Lifetime 6 Foot Folding Table is constructed of high-density polyethylene and is stronger, lighter and more durable than wood. Gray Hammertone 1-1/8″ Round Folding Frame for easy storage when not in use (Table folds flat to 72 by 30 by 3 Inches for storage). Table will not crack, chip or peel, and are built for indoor and outdoor use. The patented steel frame design provides a sturdy foundation and is protected with a powder coated, weather resistant finish.
Great for parties, work space, and more
Made of heavy-duty polyethylene plastic and steel
Durable leg system with reinforced leg supports
Folds flat to 72 by 30 by 3 Inches for storage – Top measures 72 by 30 inches –
Table is 29 inches tall when legs are extended
Stronger and more durable than wood, they will not split, chip or peel
This table makes a nice work space for crafting, sewing, folding clothes, and for parties and family gatherings. It’s sturdy plastic and cleans easily. It folds up and stores nicely. It also comes in 4-foot and 8-foot lengths. (This item was eligible for free shipping at the time it was added, 3/10/13)
Keep up with the latest quilting techniques, how-to projects and trends for fashion sewers.
Here are the Top 10 Best Selling Quilts & Quilting Magazines, updated hourly!
Looking for inspiration and project ideas? This list shows the Top 10 Best Sellers based on sales, and is updated every hour.
With simple instructions for beginners and insider techniques for quilting veterans, this book walks stitchers through the process of making a quilt with the aid of step-by-step photographs. Focusing on a one-block pattern, this book shows how a simple motif can be transformed into varied and complex designs. Detailed advice on picking fabrics and the best quilt-making supplies are also included in this crafter’s resource.
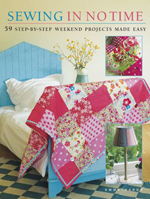
Store-bought soft furnishings can be expensive and the choice is often limited but with so many gorgeous designer fabrics on sale, there’s never been a better time to make your own. “Sewing in No Time” sets out 50 simple step-by-step projects using nothing more than the most basic of sewing skills. From a simple curtain with a pattern border and a striped duvet to a fabric storage box and a children s play tent, “Sewing in No Time” is the perfect book for people who are big on ideas but short of time.
Whether your home is a traditional country cottage or a modern warehouse-style apartment, you re sure to find plenty of ideas to inspire you. Inspirational project ideas for every room in the home. Designer style can be achieved at a fraction of the cost. Step-by-step projects show clearly how to make each piece.
St. Patrick’s Day & Easter Holiday Inspirations Fabrics
Celebrate the holidays with these wonderful holiday fabrics. These prints are perfect for decorating your home, from placemats to pillows, and make beautiful gifts, anywhere from a quilt to pajamas!
Before you lay out your fabric for cutting, you want to make sure you have a nice flat surface to work on. You don’t want to use anything soft, like a bed, because it’s not very stable. You might end up with some strange looking pattern pieces, and you don’t want to ruin them or have to start over with new fabric.
The pattern cutting board is a great piece of equipment. This can be laid on a bed or a table. It opens flat to be placed on the cutting surface, to enlarge and protect it, and folds up easily for storage. It is made of lightweight cardboard and fabric can be pinned to prevent slipping. There is also a one-inch grid to help on-grain placement of the fabric. This comes in 36″ x 60″, which is perfect for 45″ or 60″ wide fabric.
When you’re cutting fabric, I recommend a nice pair of bent-handled shears. These are best for cutting fabric because the blades rest flat against the cutting surface, and you don’t have to lift the fabric when cutting around the pattern. The 7- or 8-inch lengths are the most common. Left-handed models are also available.
The rotary cutter and rotary cutting mat aren’t an absolute necessity, but they come in handy for quick straight or curved cutting, and will go through several layers of paper or fabric, especially nice for cutting quilt squares.
Laying Out The Fabric
First, refer to the pattern instructions and find the pieces required to make your project. Find the layout for your fabric width. For example, the layout for 45″ wide fabric will be different than the layout for 60″ wide fabric. You will see the layouts on the pattern instructions.
The pattern pieces will be numbered. Cut out the appropriate pattern pieces (not the fabric, just the pattern pieces you will be using). These are templates and can be used over and over again. These pieces are what you are going to place on top of the fabric that is being cut.
You want to lay out your fabric on the cutting surface. With right sides together, fold the fabric according to the pattern instructions. The fabric will usually be folded longwise along the 60″ side, but sometimes you will have to adjust the fabric to fit the pattern pieces. Make sure you follow instructions and place the appropriate pieces along the fold. Pieces that are on the fold will be opened up after they’re cut so that it is all one piece instead of two halves. The following video will show what these will look like when placed on the fabric.
The next step will be to pin the pattern pieces to the fabric. If you are using a pattern cutting board, you can also place a few pins through the fabric to the board so the fabric doesn’t slip.
After you’ve cut out all the pieces, you will then refer back to the pattern instructions. Find the page that shows the garment you’ve chosen to make.
These videos weres created by Niler Taylor and placed on YouTube with embedding enabled. Visit her Playlist on YouTube.com.
You might find the following posts to be very helpful:
This video will basically show you how to read the back of a pattern envelope in order to help you choose the right size pattern, as well as to see the notions that are required to make the garment.
If you have never bought a pattern from a fabric store before, you are in for a treat. I love browsing through all of the pattern catalogs. The most common ones are Butterick, McCalls, and Simplicity. There are catalogs for men, women and children. There are catalogs with Halloween costumes and other themes.
The catalog will show you a picture of the pattern envelope along with the pattern number. After choosing the pattern you want from the catalog, the next step is to find the actual pattern. Patterns are usually stored in file cabinets by pattern number.
Next, look at the back of the pattern envelope where it shows the different sizes, and the amount of fabric and notions required.
Using the body measurements that you wrote down, choose a size that has the measurements closest to what you need. The patterns leave a little bit of room, so don’t worry if it’s off a little bit. For example, if your bust is 39″ use the amounts for a 40″ bust.
Next, look at the part of the pattern where it tells you what type of fabric would be appropriate for this garment. For example, cotton, wool, silk, etc. Do not choose a fabric that is plaid or has stripes. These fabrics are more difficult to sew and that would need further lessons.
The pattern will tell you the minimum width of the fabric you need. Fabric usually comes in bolts of 45″ wide or 60″ wide. If possible, choose a fabric that is 60″ wide. This will usually give you extra fabric that may be used for adding a belt or some other embellishments. Look at the amount of fabric required for each garment. You might want to buy an extra 1/4 to 1/2 yard of fabric.
Next, look at the part of the pattern where it lists the notions required for the garment you have chosen. For example, if the pattern is for a skirt and jacket, but you only want to make the skirt, see what notions are required for just the skirt. In this example, you would need 1-1/8 yards of 1-inch wide elastic.
Lastly, don’t forget to choose matching thread. This is the beginning of building up your thread collection.
This video was created by Niler Taylor and placed on YouTube with embedding enabled. Visit her Playlist on YouTube.com.
You might find the following posts to be very helpful: