


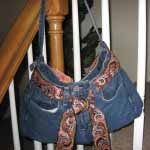
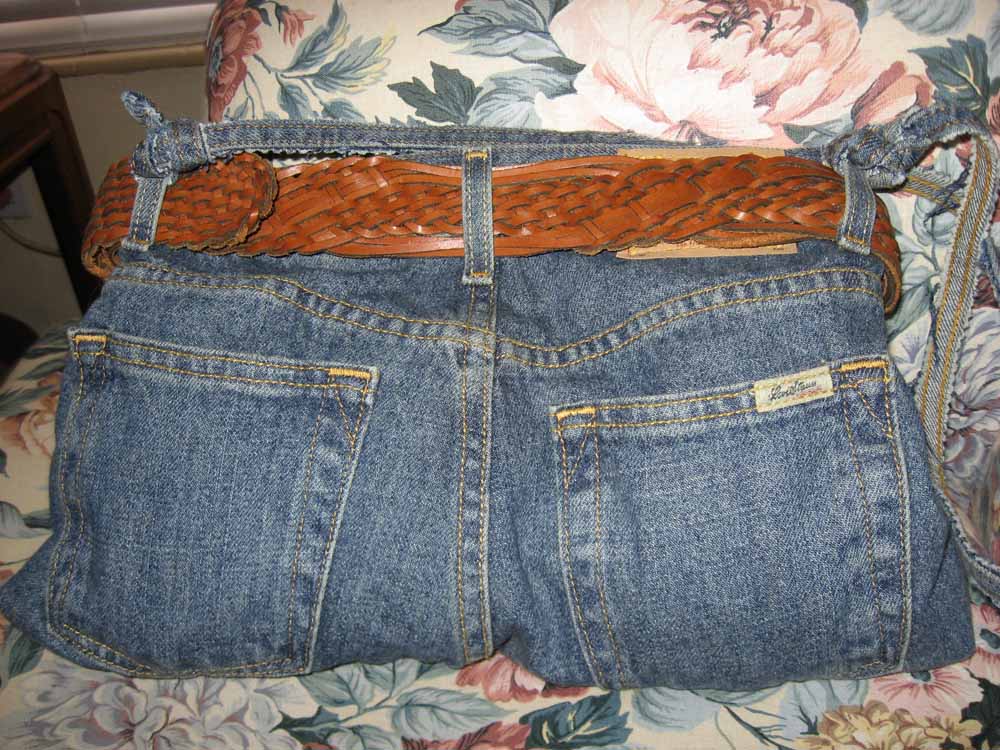
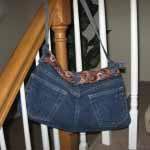
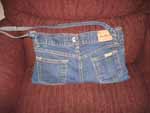
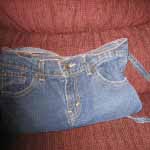
 I started making these in 2009. I’ve made them for some of my family and friends, and they just love them. I only use jeans that have five pockets, and that are in very good condition. I use the left front pocket for incidentals, change, things that I want to get to without digging around in my purse. The right front pocket holds my camera. I use the back pockets for my keys and cell phone, easy to get to. Each purse has a magnetic snap closure. The strap is made from the double-stitched seam from the leg of the jeans, and then tied in a knot through the belt loops. The purses measure approx. 14-inches wide and 10-inches tall.
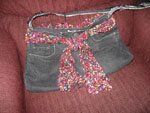
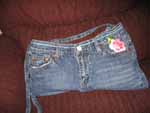
Be creative. Apply rhinestones, buttons, sew or iron-on appliques. Add a nice leather belt, or scarf. Change the belt occasionally and it will look like a new purse!
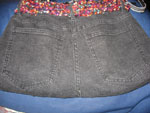
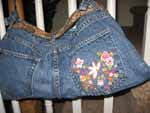
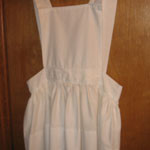
Here are some photos of my bootie bags:
|
 | |
 |
 |
|
 |
 |
|
 |
 |

Pair of Levi’s

Pin the waist

Oops!
After pinning the waistband, cut the legs off about 2″ below the crotch. Then cut open the bottom seam of the crotch so that the front and back are separated. You’ll see how the front of the crotch has extra fabric. You’ll have to pin this excess, right sides together, and sew straight down from the zipper to the bottom edge. Trim off the excess fabric. The front of the jeans should lay flat. I don’t have photos of this part, but the link below will show photos of how this is done.
Bootie Bag Cutoffs
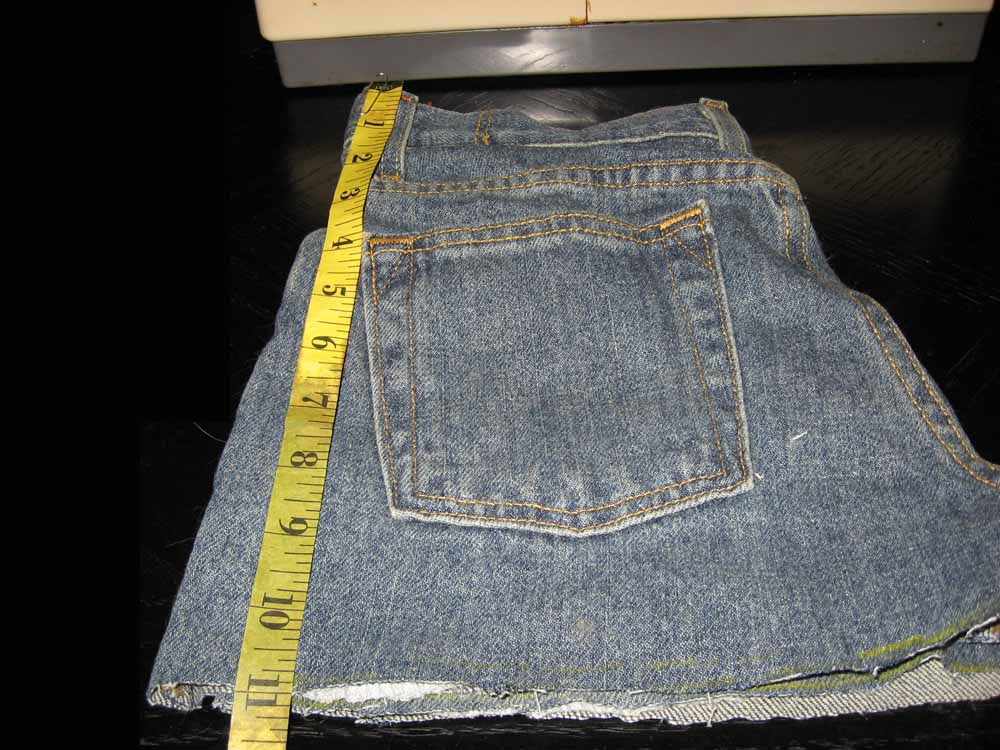
Sew one inch from the bottom edge and trim edge with pinking shears. This should leave a 5/8″ seam. Reinforce the seam by stitching across the bottom again.
I don’t have a photo of how I did the corners, but there is a link to a tutorial below that shows how to do it. Basically, when the purse is inside out, fold it so the side edge ends in a point. Then, sew across about one-inch in from the point. This will give the purse a squared off bottom edge.

Open Magnetic Snap Closure

Closed Magnetic Snap Closure
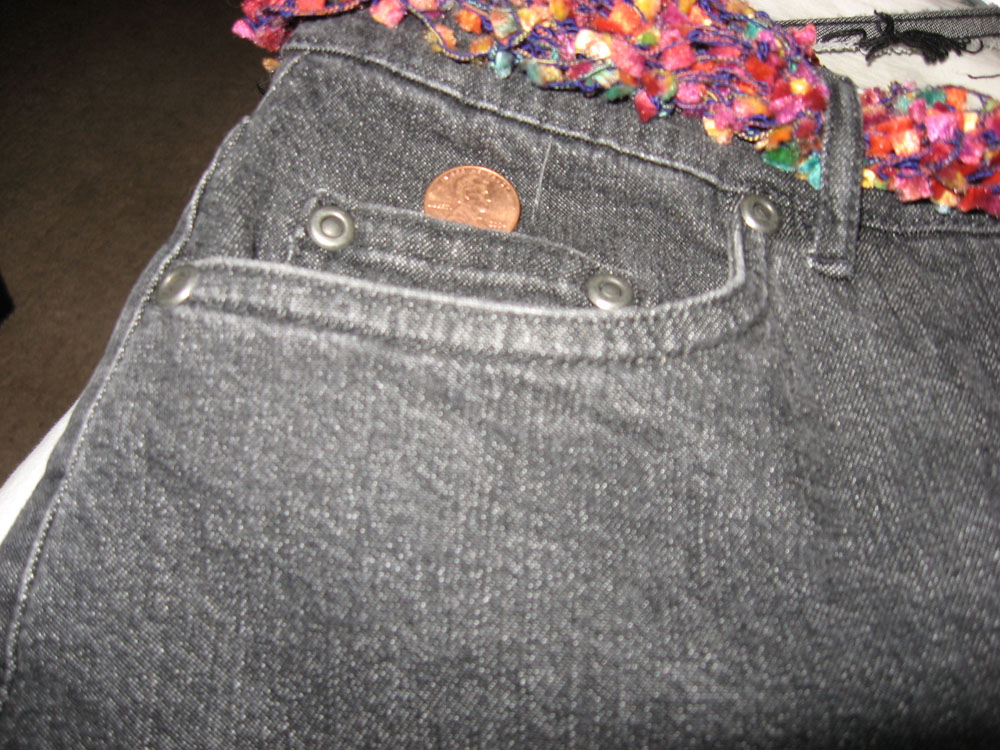
Lucky Penny in Pocket
The last thing I do after the purse is finished is place a shiny penny in the small front pocket for good luck. I call it my Lucky Penny Bootie Bag.
I found photos and step-by-step instructions that are similar to the way I make my bootie bags. How To Make Your Own Bootie Bag – Click Here
The only difference is I use a magnetic snap closure, and for the strap I use the side seam from the pant legs.
Here is a great series of videos with step-by-step instructions by Karen Weisman, eHow Presenter. They include a jeans pocket purse, handbag, and tote bag. She even shows you how to insert a lining with or without a zipper. Make a Jeans Handbag: Cut & Pin for Sewing – Click Here


Latest posts by Susan (see all)
- My Favorite 2016 Holiday Fabric Prints - October 24, 2016
- Janome Sew Mini in Three New Colors – Beachcomber, Honeycomb & Merlot - February 3, 2016
- Janome 14412 Pink Hello Kitty Sewing Machine - April 4, 2015